Seed Starting 101
There’s something pretty magical about watching the first tiny sprout emerge from a seed you planted yourself.
Seed starting can also save money, give you access to more interesting plant varieties, and help you get a head start on the growing season. Best of all, you don’t need a fancy setup to try it.
Before You Begin
Check the back of each seed packet before planting. It will tell you:
Whether the seeds should be started indoors or planted directly in the garden
When to start them based on your area’s average frost date (in Decatur, our average last spring frost is April 1, and our first fall frost is around November 2)
How deeply to plant them
About how long they should take to sprout
Other helpful growing tips
Some plants handle transplanting better than others. Tomatoes, peppers, eggplants, herbs, and many flowers are good candidates for starting indoors. Root vegetables (like carrots and radishes) are usually happier when planted directly in the garden. If you’re unsure, check the back of the seed packet.
Gather Your Supplies
You’ll need:
Seed-starting trays or small containers: Cell trays, soil-block trays, small nursery pots, or repurposed containers all work. Whatever you choose should be clean and have drainage holes.
A bottom tray: This sits beneath your containers to catch water and allows you to water seedlings from below.
A large bowl or tub: For mixing and moistening the seed-starting mix.
Seed-starting mix: Use a mix made specifically for seeds rather than garden soil or regular potting soil. It’s lighter and finer, which makes it easier for new roots to grow.
Water
Seeds
Plant tags and a permanent marker
A humidity dome or clear plastic cover: Helpful for holding in moisture while seeds germinate, but not essential.
A grow light: Strongly recommended once seedlings emerge.
A seedling heat mat: Optional, but helpful for warmth-loving plants such as tomatoes, peppers, and eggplants.
Step 1: Moisten the Seed-Starting Mix
Pour the seed-starting mix into a large bowl or tub. Add water a little at a time, mixing it thoroughly with your hands as you go. (Have kiddos at home? They love this step!)
Grab a handful and squeeze. The mix should clump together in your palm without releasing any water. Think of a wrung-out sponge. If water runs through your fingers, the mix is too wet. Add more dry mix and try again.
Moistening the mix before filling the trays helps it absorb water evenly and keeps lightweight, dry mix from floating out of the cells later.
Step 2: Fill the Trays
Loosely fill each cell or container with the moistened mix. Tap the tray gently against your work surface, then press the mix lightly with your fingers to settle it and remove large air pockets.
Top off any cells that have sunk. The mix should be evenly filled and lightly firm, not packed down hard.
Step 3: Plant the Seeds
Read the back of the seed packet to determine the recommended planting depth. A good general rule is to plant a seed about twice as deep as it is wide, but the packet instructions will guide you. Some very small seeds need only a light covering, and a few need light to germinate.
Make a small hole in the center of each cell, place the seed inside, and gently cover it with mix. Planting one seed per cell makes thinning easier later, though you can plant two if the seeds are older or you’re concerned about germination. If both sprout, give them a little time to grow and then keep the stronger seedling by snipping the other at the soil line.
Step 4: Label Everything
Label each row or container before or as soon as you plant it. Include the plant variety and planting date, if desired. This is a small step that is very easy to skip, but it’s very important (trust me!). Most seedlings look nearly identical when they first emerge until their true leaves arrive.
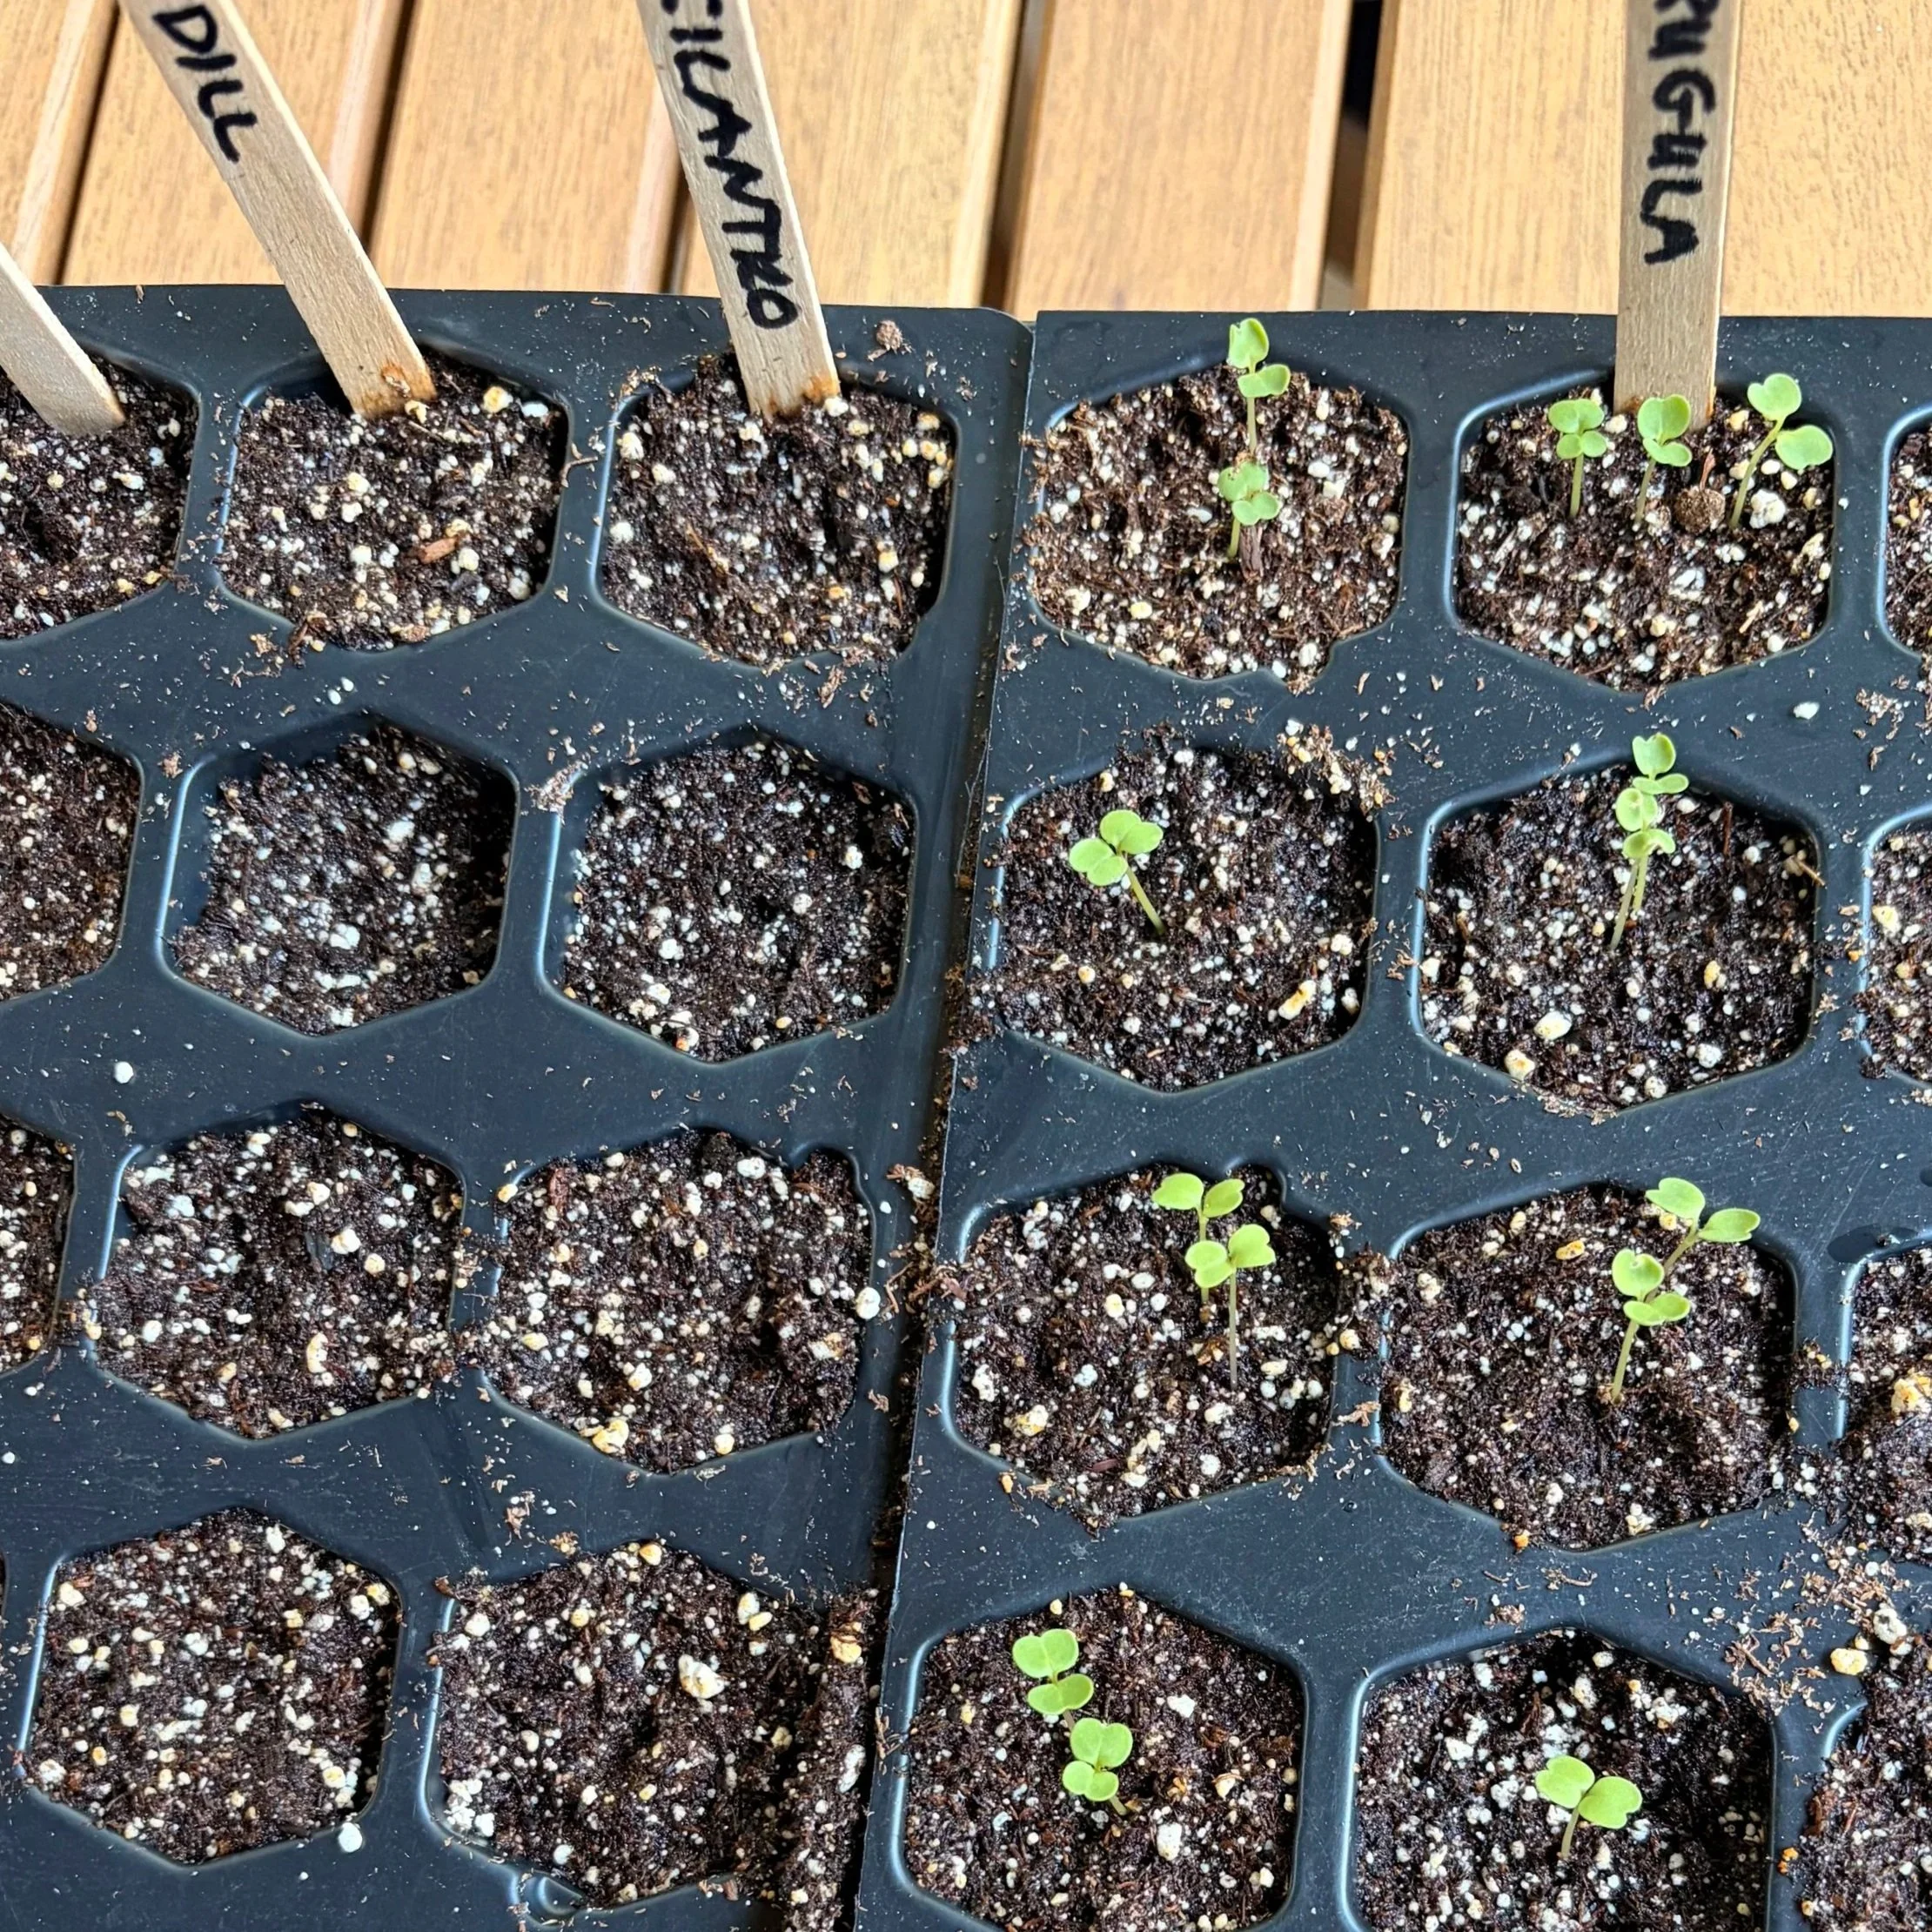
Need a quick win to boost your confidence? Start with arugula (my favorite)! It sprouts quickly, grows easily, and you won’t have to wait long for your first harvest.
These seeds sprouted in 2 days. Arugula does well in both cool and warm seasons here in Georgia, so I plant it all year long to fill empty spaces. It’s also easy to sow directly in your raised beds if you don’t want to start it in seed trays.
Step 5: Give the Seeds Their First Watering
Water gently so you don’t uncover or dislodge the seeds. A fine mist, gentle spray bottle, or careful bottom watering works well.
To bottom-water, add a shallow layer of water to the tray beneath the containers and allow the mix to absorb it through the drainage holes. Pour out any water that remains once the surface feels evenly moist. The trays should not sit in standing water.
Cover the tray with a humidity dome, if desired, to hold in moisture during germination. If you’re growing heat-loving plants (like peppers), set the tray on a seedling heat mat.
Step 6: Keep the Mix Moist
Seeds need steady moisture to germinate. Check the trays every day and don’t let the mix dry out completely.
Aim for moist, not soggy. Bottom watering is especially helpful once seeds begin sprouting because it keeps the young stems and leaves dry.
Step 7: Add Light as Soon as Seeds Sprout
As soon as the first seedlings appear, remove the humidity cover and place the tray under a grow light. Don’t wait for every seed to emerge. Keep the light close above the seedlings, following the manufacturer’s instructions, and raise it as the plants grow.
A sunny windowsill may look bright to us but often does not provide enough strong, overhead light for seedlings. Plants that are tall, thin, pale, or leaning toward the window are asking for more light. A grow light placed close overhead helps seedlings grow shorter and stronger.
Step 8: Keep Them Growing
Continue checking the mix each day and water from the bottom when it begins to feel dry. Once most of the seeds have sprouted, remove the heat mat. A little airflow from a nearby fan can also help seedlings grow sturdier.
If you planted more than one seed per cell, keep the strongest seedling and snip the others at the soil line. As the plants grow, some may need to be moved into larger containers before they’re ready for the garden.
You’ll know your seedlings need more light if they become tall, thin, or start leaning. Move the grow light a little closer, then keep raising it as they grow.
Step 9: Bring Them Outdoors
Seedlings typically need a little time to adjust before moving into the garden (a process called hardening off). About a week before planting, begin setting them outside for a short period each day, starting in a protected, shady spot. Gradually give them more time and sunlight until they’re ready to stay outdoors, and then plant them in your garden.
Start with one tray and a few seeds you’re excited to grow. There will be learning curves along the way, but watching a tiny seed turn into something you can plant and eventually harvest is pretty awesome. Give yourself grace! Questions? I’m here to help.
